
This series refer to an older version of LWJGL 3. The updates are in progress.
Contents
Hello and welcome back to the LWJGL Tutorial Series. In the previous tutorial, we have learnt how to create a white triangle on the screen. I know it was quite boring, so in this tutorial, we are going to color it. We will be creating a triangle which is colored with three different colors, one for each vertex.
The code of this tutorial continues from the previous tutorial, so start by copying the sources Tutorial1.java Tutorial1.vs and Tutorial1.fs into the tutorial2 package. Let’s start by recalling what we did in the previous tutorial first.
- We first created our shaders and made them the current programs.
- Then we created a VAO to store the state of the VBO and the pointers to attributes.
- Then we created a VBO with contents of the vertices of the triangle.
- Finally, we enabled the attribute locations and pointed them towards the VBO of our triangle.
That is how we rendered our triangle onto the screen. The coloring process is also the same. We will create one more VBO to store the color data and point it to the next location in the shader. The difference, lies in the number of components and how we handle them in the shaders.
float[] colors = new float[]
{
    1, 0, 0, 1,  // Red color, for the first vertex
    0, 1, 0, 1,  // Green color, for the second vertex
    0, 0, 1, 1   // Blue color, for the third vertex
};
We specify the colors as four component float vectors in the form of \(r, g, b\) and \(a\) respectively. The values for each component varies from \(0.0f\) to \(1.0f\) where the value of \(0\) specifies that component is empty and the value of \(1\) specifies that the component is full.
Then we create the VBO for the colors and point it towards the second location in the shader (The first location is used for vertices). From there, all the magic happens in the shaders.
vboColID = glGenBuffers();
glBindBuffer(GL_ARRAY_BUFFER, vboColID);
glBufferData(GL_ARRAY_BUFFER, colorsBuffer, GL_STATIC_DRAW);

glVertexAttribPointer(1, 4, GL_FLOAT, false, 0, 0);
glEnableVertexAttribArray(1);
Our work in Java code is done, assuming that you have also wrote the code to dispose the color VBO yourself. We now have to modify our shaders. Previously, our vertex and fragment shaders have no direct relation, because we produced the color of the triangle directly in the fragment shader.
In GLSL, it is not possible to read the color input in the fragment shader directly. We have to read the color in the vertex shader, and pass it on to the fragment shader. This is our new vertex shader.
#version 330 core

layout(location = 0) in vec2 position;
layout(location = 1) in vec4 color;

out vec4 vColor;

void main()
{
    vColor = color;
    gl_Position = vec4(position, 0.0, 1.0);
}
As I said previously, the color is a four dimensional floating point vector, which we are reading from the location \(1\). You can see that we declared an output variable called as vColor. We made it the output variable because it is the output of the vertex shader, and the input of the fragment shader. We simply assign the color to the output, thus passing the value to the fragment shader.
#version 330 core

in vec4 vColor;
out vec4 fragColor;

void main()
{
    fragColor = vColor;
}
As you can see, we declared vColor as input variable in the fragment shader, whereas it was an output variable in the vertex shader. The fragment shader is not complex too, we just pass it on again as the fragment color. And now if everything went correct, you can run the program and the output should be similar to this.
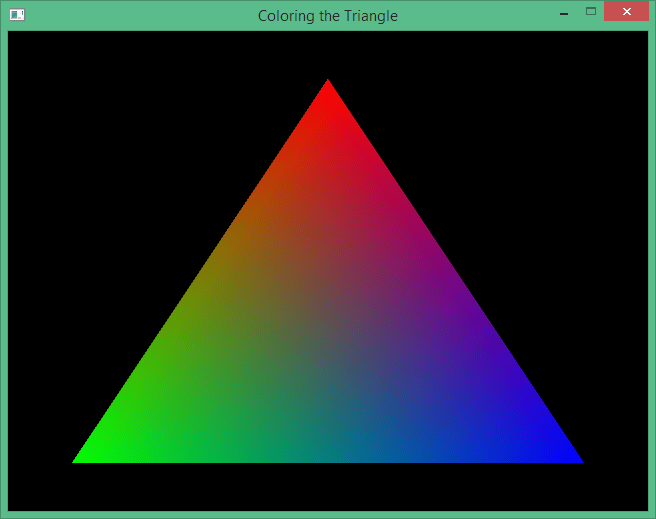
There we go, we have created a cool looking colored triangle in this tutorial. In the next tutorial, we will be learning how to use EBOs (Element Buffer Objects) and do indexed rendering.
Source Code
All the source code for this tutorial is present on my GitHub repository here. Individual links to the files are given in the list below.